May 24, 2021
How to photograph models: the complete guide
Learn how to photograph models step by step: planning, posing, lighting, equipment, and post-production, for lookbook and e-commerce shoots.

The equipment, light types, and positions behind a working product photography lighting setup - plus how to build one step by step, whether you shoot with a single lamp or automate a full e-commerce catalog.
Table of contents
Good lighting is the difference between a product photo that sells and one that gets scrolled past. It shapes how sharp, accurate, and trustworthy your images look to a shopper who can't touch the product before they buy it.
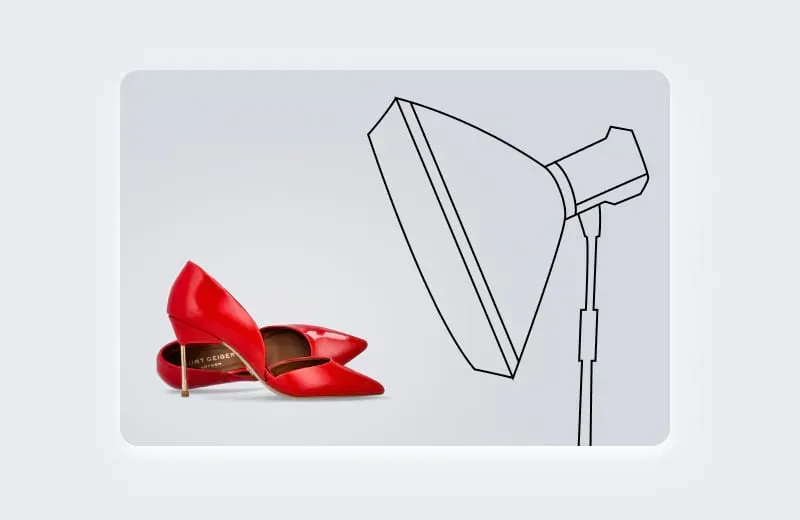
This guide breaks down the equipment, light types, and positions behind a working product photography lighting setup, then walks through building one step by step - whether you're shooting with a single lamp on a desk or automating an entire e-commerce catalog.
For the full picture beyond lighting alone, see our complete guide to e-commerce product photography.
A product photography lighting setup is the combination of light sources, modifiers, and positions used to control how a product's shape, color, and texture appear in a photo. At minimum, it includes a key light, a reflector or fill light, and a diffuser. The setup you choose depends on the product, the background, and whether the shoot happens in natural light or a studio.
Lighting is not a finishing touch. It is what separates a flat, hard-to-read image from one that shows a product's true shape, color, and material. If you're building a full shoot rather than just the lighting, our guide to website product photography covers the rest of the setup end to end.
Three components form the base of any setup: a light source, a reflector, and usually a diffuser to even out the light. Beyond that, the equipment you add depends on your shooting environment and the level of control you want.
| Equipment | Role in the setup |
|---|---|
| Key light | The main light source. Defines the product's shape and texture. Usually placed at a 45-degree angle to the camera. |
| Fill light | A secondary, lower-intensity light that softens the shadows the key light creates. |
| Reflector | Bounces light back onto the product to fill in shadows and add highlights, without adding a new light source. |
| Diffuser | Softens harsh light for even, flattering illumination. |
| Tripod | Keeps framing and composition consistent between shots. Choose one that supports your camera's weight. |
| Backdrop | Removes distractions behind the product. Common options: seamless paper, muslin cloth, wood, marble, or a plain color. |
| Lighting support | Light stands, boom arms, and background support systems that hold your lights and modifiers in place. |
| Props and styling tools | Fabric, textured surfaces, and product stands that add context or scale to the shot. |
| Editing software | Adjusts color, contrast, and exposure after the shoot, to balance realism with a polished final look. |
Choosing and prepping the right props and backdrop before you touch a single light saves time later - our guide to preparing products for a photography session covers that step in detail.
Your choice of light source is usually between natural light and studio lights, with several adjustments in between. Each type suits different products, budgets, and shooting environments.
| Lighting type | How it works | Best for |
|---|---|---|
| Natural light | Sunlight through a window, softened with sheer curtains or diffusion material. | Skincare, food, and clothing that needs true-to-life color and texture. |
| Lightbox (light tent) | An enclosure with diffused walls that spreads light evenly and minimizes shadows and reflections. | Small to medium products: jewelry, cosmetics, electronics. |
| Continuous lighting | Constant light sources such as LED panels or fluorescent bulbs, adjustable in real time. | Beginners and photographers using a slow shutter speed. |
| Studio strobe lighting | Bursts of bright light from flash units, paired with softboxes or umbrellas. | Photographers who need to freeze motion or capture fine detail at scale. |
| Light painting | A handheld light source (LED wand or flashlight) moved across the product during a long exposure. | Reflective or transparent products that need dramatic, targeted highlights. |
| Reflectors and diffusers | Used alongside another light source to redirect or soften light. | Any setup that needs finer control over shadow and highlight balance. |
Light position changes the story a product photo tells. Positioning adds a three-dimensional look, highlights specific features, and sets the mood of the shot. Beyond the three core positions below, an accent light - placed at a higher angle than the rest - can be added to highlight a detail like a logo or texture.
| Position | Setup | Effect | Best for |
|---|---|---|---|
| Side lighting | Light source at a 90-degree angle from the camera. | Strong shadows that emphasize depth and texture. | Fabrics, jewelry, and sculpted or textured products. |
| Back lighting | Light source behind the product, facing the camera. | A halo or rim effect that separates the product from the background; adds transparency to glass or reflective surfaces. | Products where the outline or silhouette matters most. |
| Front lighting | Light source in front of the product, facing it evenly. | Minimizes shadows and shows the full surface in detail. | Clean, minimalist e-commerce product shots. |
Side lighting is especially useful for small, detailed items - see our 10 tips for photographing jewelry for it in practice. Back lighting pairs naturally with a dark backdrop; our guide to black background product photography shows how the two work together.
Product photography can directly affect sales: 70% of online shoppers say product content quality can make or break a purchase decision, according to a 2023 Forbes/Bazaarvoice study. Lighting position is one of the fastest ways to control that quality without changing the product itself.
Fine-tuning usually means moving lights, changing their angle, or adjusting their height. Start by facing your reflector directly at the light source, then adjust its position until you get the look you want.
Once you're happy with the lighting, check your camera's shutter speed, ISO, and aperture settings. Take multiple shots from different angles and make small adjustments to both lighting and composition as needed. Whatever you can't fix in-camera, a good post-production pass can - our guide to post-production for product photography covers what to adjust and what to leave alone.
For small to medium products, set up a table with a shiny white acrylic plate. The reflective surface bounces extra light back onto the product from below. Place a second acrylic plate vertically behind the product and backlight it with a softbox for even background lighting. Add a larger light above the product for general illumination - this lowers contrast, which works whether the product itself is shiny, dark, or white.
E-commerce shoppers want to see every angle of a product, close to the experience of holding it in their hands. Manual lighting setups make that hard to deliver at volume. Automation changes what's possible for catalogs that need hundreds or thousands of consistent images - see our guide to mastering e-commerce product photography for the bigger picture beyond lighting alone.
| Benefit | What it means in practice |
|---|---|
| Consistency | Lighting conditions stay identical across every shot, which protects brand identity and image quality. |
| Scalability | You can shoot a higher volume, or expand into new product categories, without adding proportional setup time. |
| Better workflow | Lighting synchronizes with camera settings, cutting the handoff time between capture and post-production. |
| Customization | Color temperature, intensity, and angle are all adjustable per product, without rebuilding the physical setup. |
| Time efficiency | Setup time drops sharply, freeing photographers to focus on styling and creative decisions instead of repositioning lights. |
| Cost savings | Fewer manual adjustments and less rework lower production cost per image over time. |
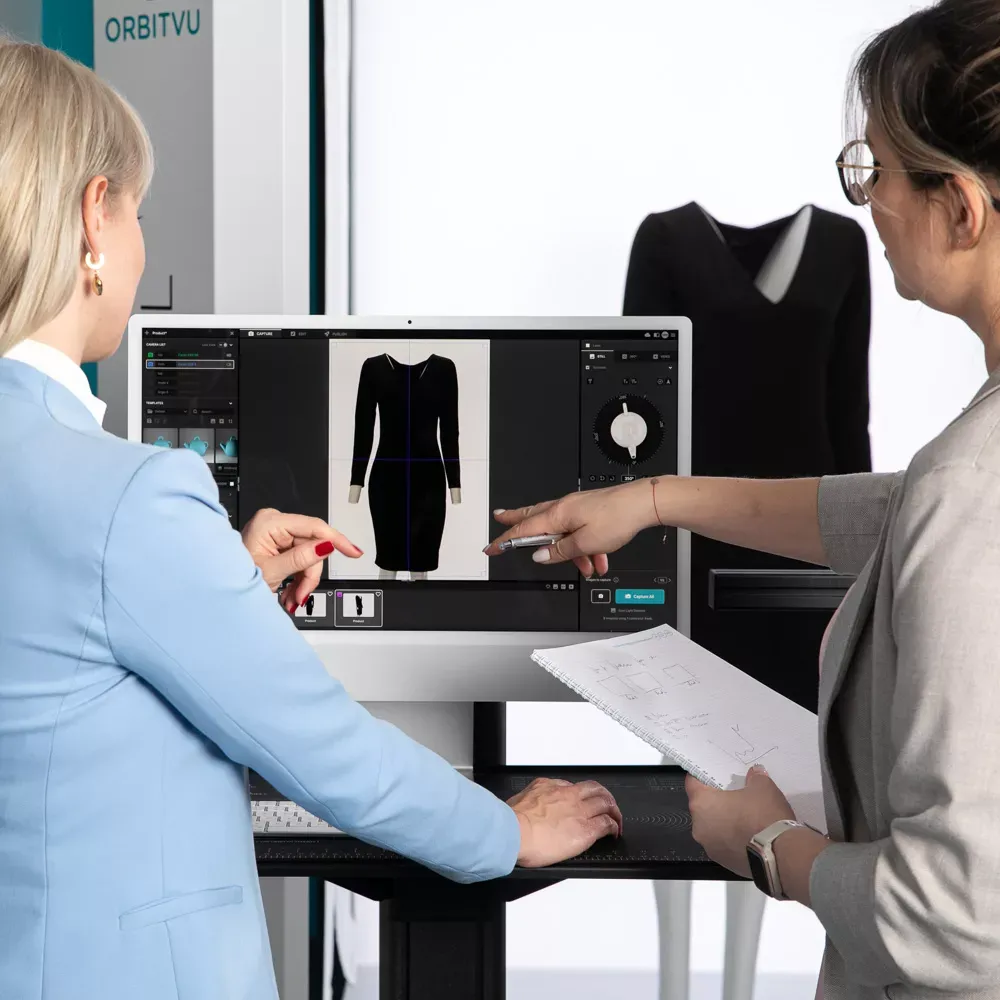
Orbitvu systems use LED continuous lighting with individually controlled light panels, giving you a controllable, repeatable light source instead of one you have to rebuild for every shoot. AI Photo Assistant sets up the lighting for the specific product type you're shooting, and you can adjust it further from there - the final choice is always yours.
Lighting is only one stage of the workflow - see what end-to-end product photography automation looks like for how capture, processing, and publishing connect.
Experimenting with lighting angles, distances, and intensity is how you find the right look for a product. But patience only gets you so far at catalog scale. Orbitvu Station, our e-commerce photo editing software, connects to your capture hardware to handle background removal and post-production, then publishes images to your sales channels - one workflow, from capture to publish.
Explore Orbitvu's product photography systems → · Book a 30-min demo →
There is no single best lighting setup - it depends on the product and the look you want to achieve. Natural or continuous lighting works well when the priority is a soft, realistic image and true texture. For small, detailed, or highly reflective products, lightboxes and strobe lighting work better, giving full control over reflections and shadows. The right choice also depends on where the image will be used - a marketplace packshot calls for different lighting than a lifestyle shot.
Not always. A lightbox helps most with small to medium products like jewelry or cosmetics, where even, shadow-free light matters. Larger products often need a full studio setup with a key light, fill light, and background lighting instead.
Most product photographers use daylight-balanced lighting around 5000-5600K, which renders colors close to how they appear in natural light. Consistent color temperature across every shot matters more than the exact number, especially for catalogs.
Add a fill light or reflector opposite your key light to soften shadows, and use a diffuser, softbox, or umbrella to spread the light source over a wider area. Moving the key light farther from the product also softens shadow edges.
Yes. Shooting near a window, with sheer curtains to soften direct sun. Natural light is harder to keep consistent across a large catalog than studio or automated lighting.
The key light is the main light source and defines the product's shape and texture. The fill light is a secondary, lower-intensity light placed nearby to soften the shadows the key light creates, without overpowering it.
Use the form to tell us what you are planning and what kind of product content workflow you need.
May 24, 2021
Learn how to photograph models step by step: planning, posing, lighting, equipment, and post-production, for lookbook and e-commerce shoots.
September 18, 2026
What tethering software actually does, how wired and wireless compare in 2026, the five categories of tools on the market, and how to choose one for a high-volume product photography studio.
November 3, 2020
A complete guide to 360 degree product photography. Get info and tips on 360 spin product photography, 360 product photography equipment, and software.